Table of Contents
Comprehensive Guide to 2-Way Switch Wiring: A Step-by-Step Tutorial for USA Homes
When it comes to home lighting, the ability to control lights from multiple locations is not just a luxury—it’s often a necessity. If you’ve ever wondered how to wire a 2-way switch, you’re in the right place. In this comprehensive guide, we will explore everything you need to know about 2-way switch wiring, focusing on USA standards and best practices.
Whether you’re a DIY enthusiast or a seasoned electrician, learning about 2-way switch wiring will enhance your understanding of how electrical systems work in your home. By the end of this article, you will be ready to wire your 2-way switch safely and efficiently.
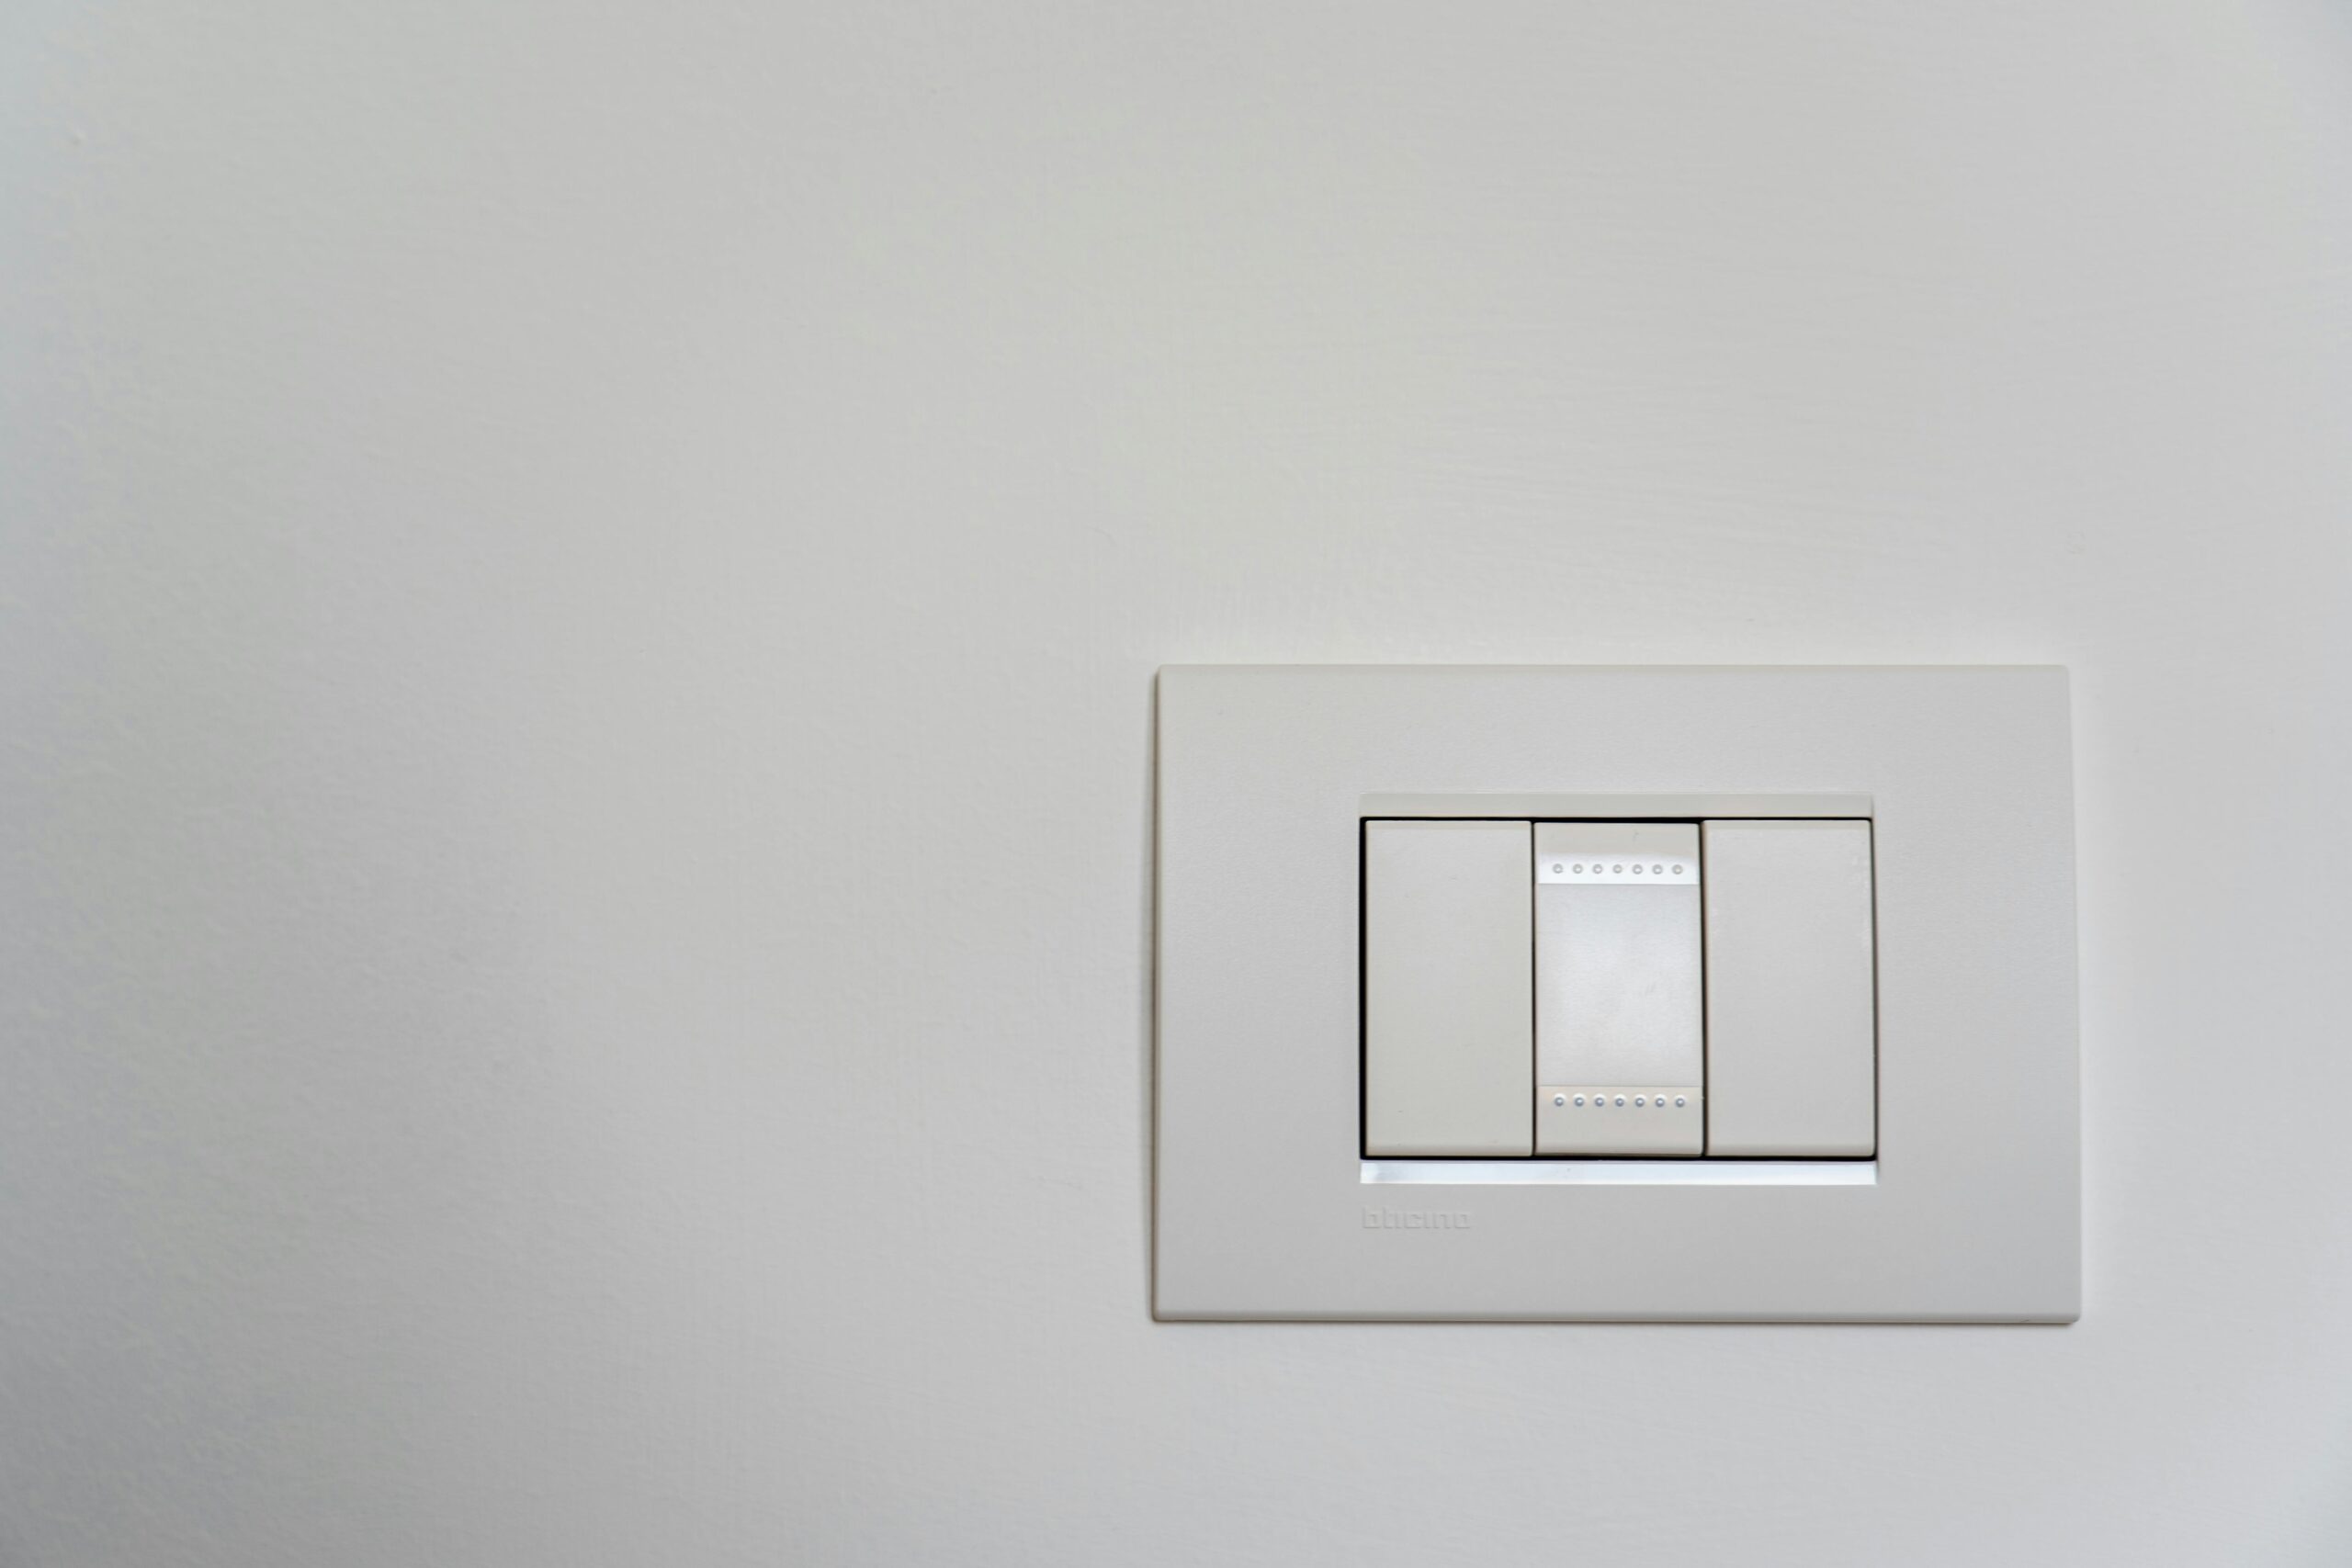
What is a 2-Way Switch?
A 2-way switch allows you to control one light from two different locations. This makes it especially useful in hallways, staircases, and large rooms where multiple switches are necessary for convenience and safety.
A 2-way switch setup is more complex than a standard single-pole switch because it involves two switches working together. The wiring method lets you turn a light on or off from two different switches, often located at opposite ends of a room or hallway.
Common Uses for a 2-Way Switch
Hallways: Control lights from both ends of the hall.
Staircases: Switch the light on at the bottom of the stairs and off at the top.
Bedrooms: Control overhead lights from both the entrance and near the bed.
Living Rooms: Place switches at both doorways for easy lighting control.
Garages: Allow you to control the same light from inside and outside the house.

Tools and Materials Needed
Before diving into the wiring process, make sure you have the following tools and materials ready:
| Tools | Materials
| Screwdrivers (Flathead and Phillips) | Two 2-way light switches
| Voltage tester | Electrical wires (14-gauge or 12-gauge)
| Wire stripper | Wire nuts/connectors
| Needle-nose pliers | Electrical tape
| Utility knife | Ground wire (if not pre-installed)
| Electrical box (for mounting switches) | Voltage-rated gloves (for safety)
Step-by-Step Guide to 2-Way Switch Wiring
Follow these steps carefully for a successful 2-way switch wiring installation:
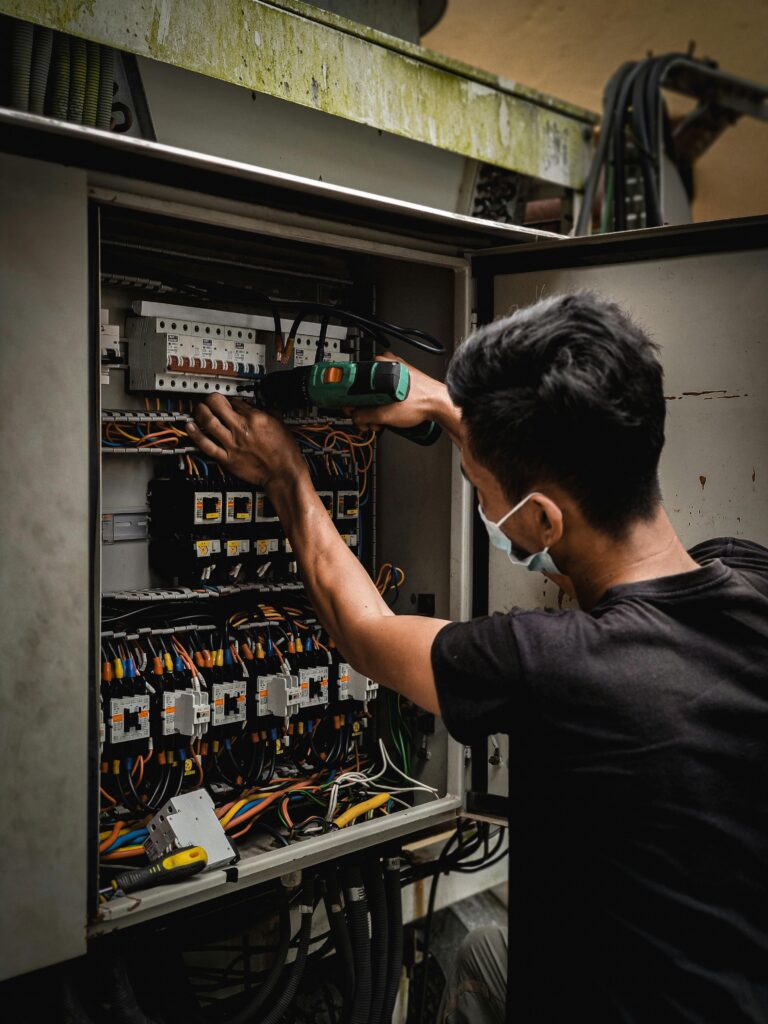
Step 1: Turn Off the Power
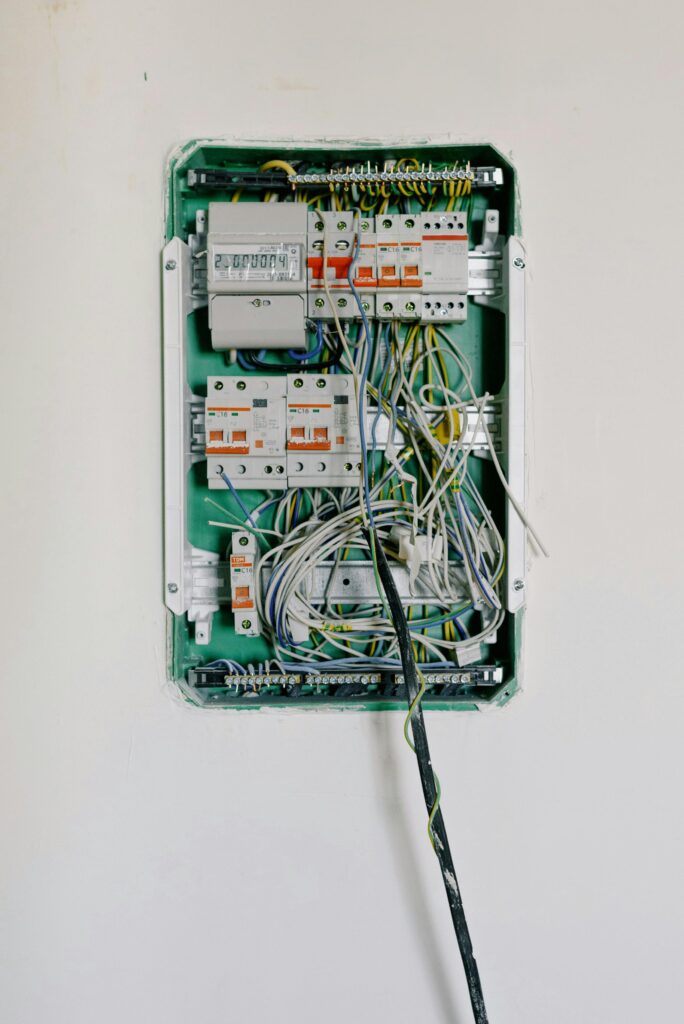
Before starting any electrical work, ensure that you have switched off the power to the circuit at the breaker box. Use a voltage tester to double-check that there is no power running through the wires you’ll be working with.
Step 2: Prepare the Wiring
For a 2-way switch, you’ll have three wires running between the switches:
Common wire (hot wire): This connects to the power source on one end and the light fixture on the other.
Traveler wires: Two wires (typically red and black) that connect both switches together.
Ground wire: The bare copper or green wire used for safety.
Step 3: Wire the First Switch
1. Connect the Common Terminal: Attach the live (hot) wire from the power source to the common terminal on the first switch. This is usually marked with a darker-colored screw.
2. Connect the Traveler Wires: Attach the two traveler wires to the two traveler terminals. These will link this switch to the second switch.
3. Ground the Switch: Connect the ground wire to the grounding terminal (green screw).
Step 4: Wire the Second Switch
1. Connect the Traveler Wires: Connect the other ends of the traveler wires to the two traveler terminals of the second switch.
2. Connect the Common Terminal : Attach the common wire from the second switch to the light fixture.
3. Ground the Switch: Connect the ground wire to the grounding terminal on the second switch.
Step 5: Wire the Light Fixture
The final step is connecting the light fixture. Attach the neutral wire from the light to the neutral wire coming from the power source, and then connect the hot wire from the light fixture to the common terminal of the second switch.
Step 6: Test the Setup
Turn the power back on at the breaker and test your switches. Each switch should be able to control the light independently.
Wiring Diagram for 2-Way Switch
To help clarify the process, here’s a basic diagram illustrating the wiring connections for a 2-way switch setup:
| Component | Connection | Description
| Power Source | Connect to common terminal of Switch 1 | Supplies power to the first switch
| Switch 1 | Connects to traveler wires to Switch 2 | First control point
| Switch 2 | Connects to traveler wires and light | Second control point, controls light
| Light Fixture | Common terminal of Switch 2 | Light is connected to common terminal of the second switch |
Advantages of 2-Way Switch Wiring
Convenience: Turn lights on or off from two different locations.
Increased safety: Particularly useful in dark hallways or staircases, preventing potential trips or falls.
Energy-saving: Provides multiple points of control, allowing you to switch off lights from the most convenient location.
Improved functionality: Great for larger rooms, garages, or external lighting.
Common Mistakes to Avoid
Wrong wire placement: Incorrectly connecting the common and traveler wires can prevent the system from functioning.
Loose connections: Make sure all wires are securely fastened to their terminals.
Not grounding the switches: Skipping the ground wire can create safety hazards, as grounding is necessary to prevent electric shocks.
Failure to test the voltage: Always test the voltage before starting work to ensure the wires are de-energized.
Frequently Asked Questions (FAQs)
Q1: Can I install a 2-way switch myself?
A: Yes, many homeowners can install a 2-way switch by following the proper steps. However, if you’re unsure about wiring, consult an electrician.
Q2: What is the difference between a 2-way switch and a 3-way switch?
A: A 2-way switch controls one light from two different locations, while a 3-way switch controls a light from three or more locations.
Q3: How do I know which wire is the common wire?
A: The common wire is typically black and is connected to the power source or the light fixture. It’s often attached to a darker-colored screw on the switch.
Q4: What wire gauge should I use for 2-way switch wiring?
A: For most household circuits, 14-gauge wire is sufficient for a 15-amp circuit, while 12-gauge wire is used for a 20-amp circuit. Always check the amperage rating of your circuit before beginning any electrical work.
Q5: Can I use a 2-way switch with smart home systems?
A: Yes, many modern smart home systems offer 2-way switch compatibility, allowing you to control lights via smart switches, apps, or voice commands.
Final Thoughts
Installing a 2-way switch wiring system is an effective way to add convenience and safety to your home. With the ability to control a light fixture from two different locations, you can enjoy increased flexibility and energy efficiency. By following this detailed guide, you can safely install or replace 2-way switches in your home.
Read More in Wikipedia
Visit Home Page
Remember, safety should always be your top priority. If you’re not confident in your electrical skills, consider hiring a licensed electrician to perform the installation. Happy wiring!